Download and extract opencv 2.4.3 for windows. (I extracted it to E:/Program Files/opencv)
Download and install CMake 2.8.10.2 for windows.
I’ll show you how to build x86 version as following, but x64 version is almost the same steps. I’ll point out those steps different than x86.
Open CMake and select source code directory as E:/Program Files/opencv and binary directory as
E:/Program Files/opencv/build/x86/vc11. You may need to create this directory yourself. If you look into E:/Program Files/opencv/build directory, you will notice there are x86 and x64 which indicate different versions. In those directory, there are pre-builded vc9 and vc10 libs, but there are no vc11 corresponding to Visual Studio 2012, so we have to build it ourselves. At the end, what we need is the same as those in vc9/vc10 directory, which are bin and lib files.
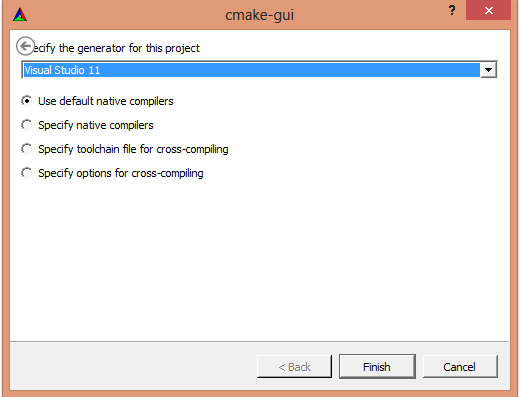
Click “Configure” and select “Visual Studio 11”.
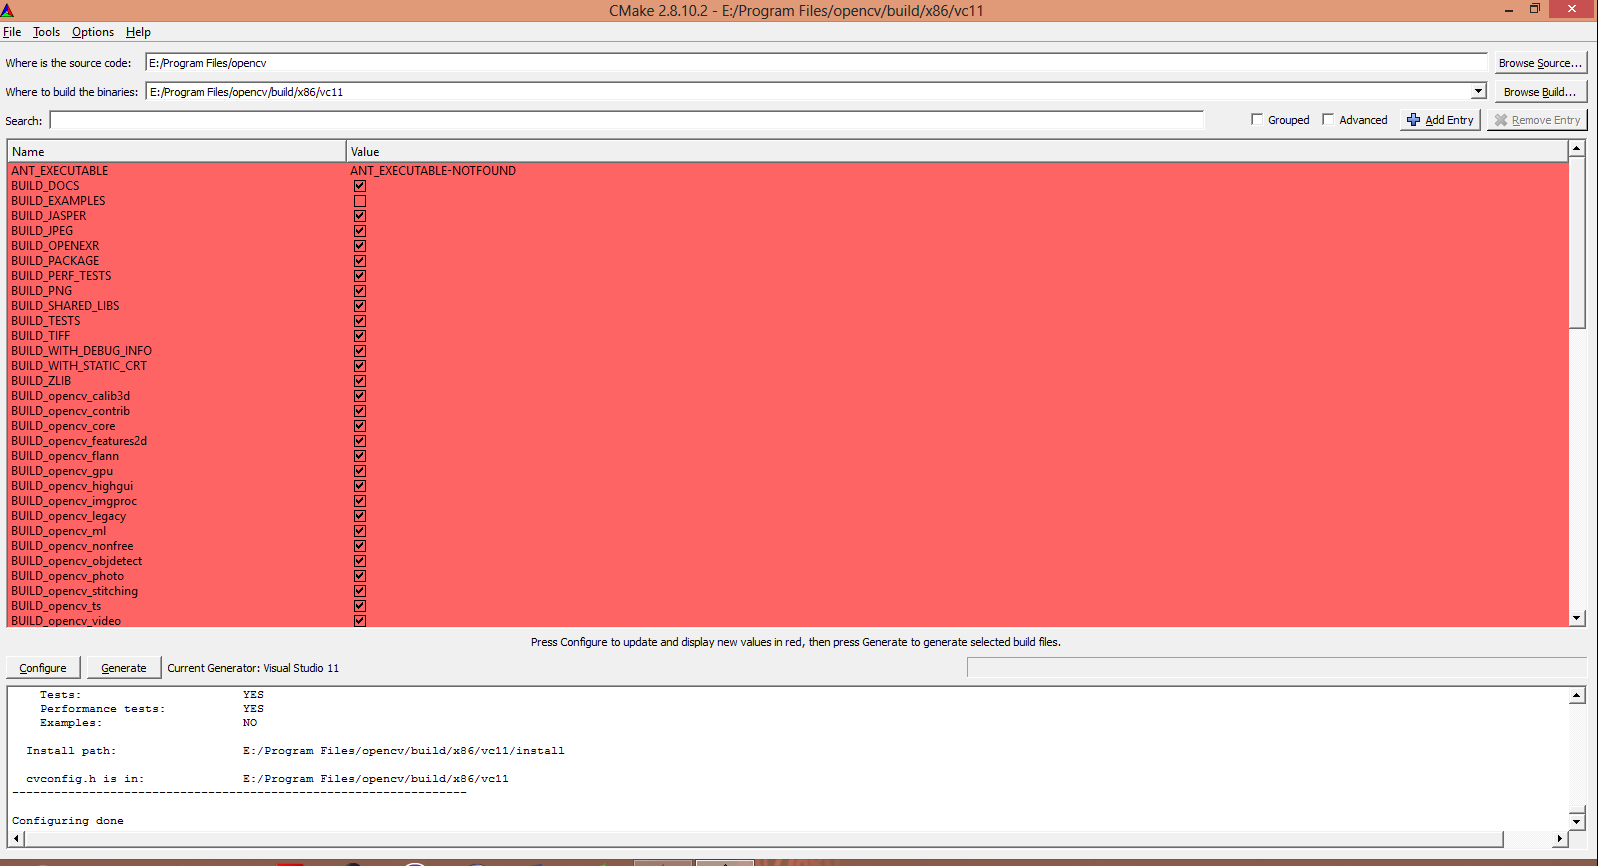
Select whatever you want to build and configure, or leave it by default, and click “Configure” again and then click “Generate”. You will see “Configuring done” and “Generating done” in the log.

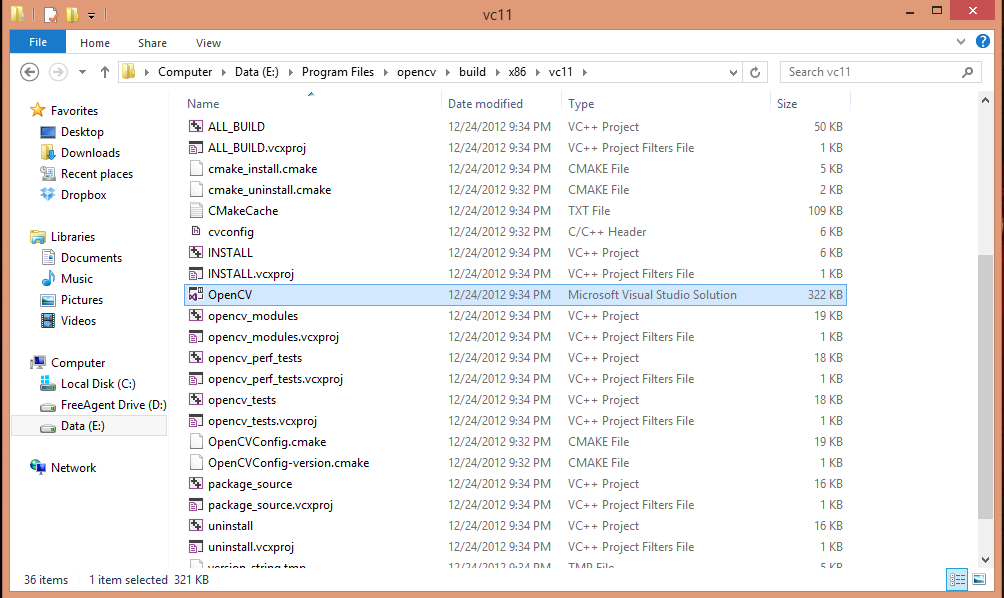
You can close CMake now. Go to your build directory, you will see a Visual Studio 2012 project named OpenCV, open it with Visual Studio 2012.
Wait until it says “Ready” on the lower left corner.
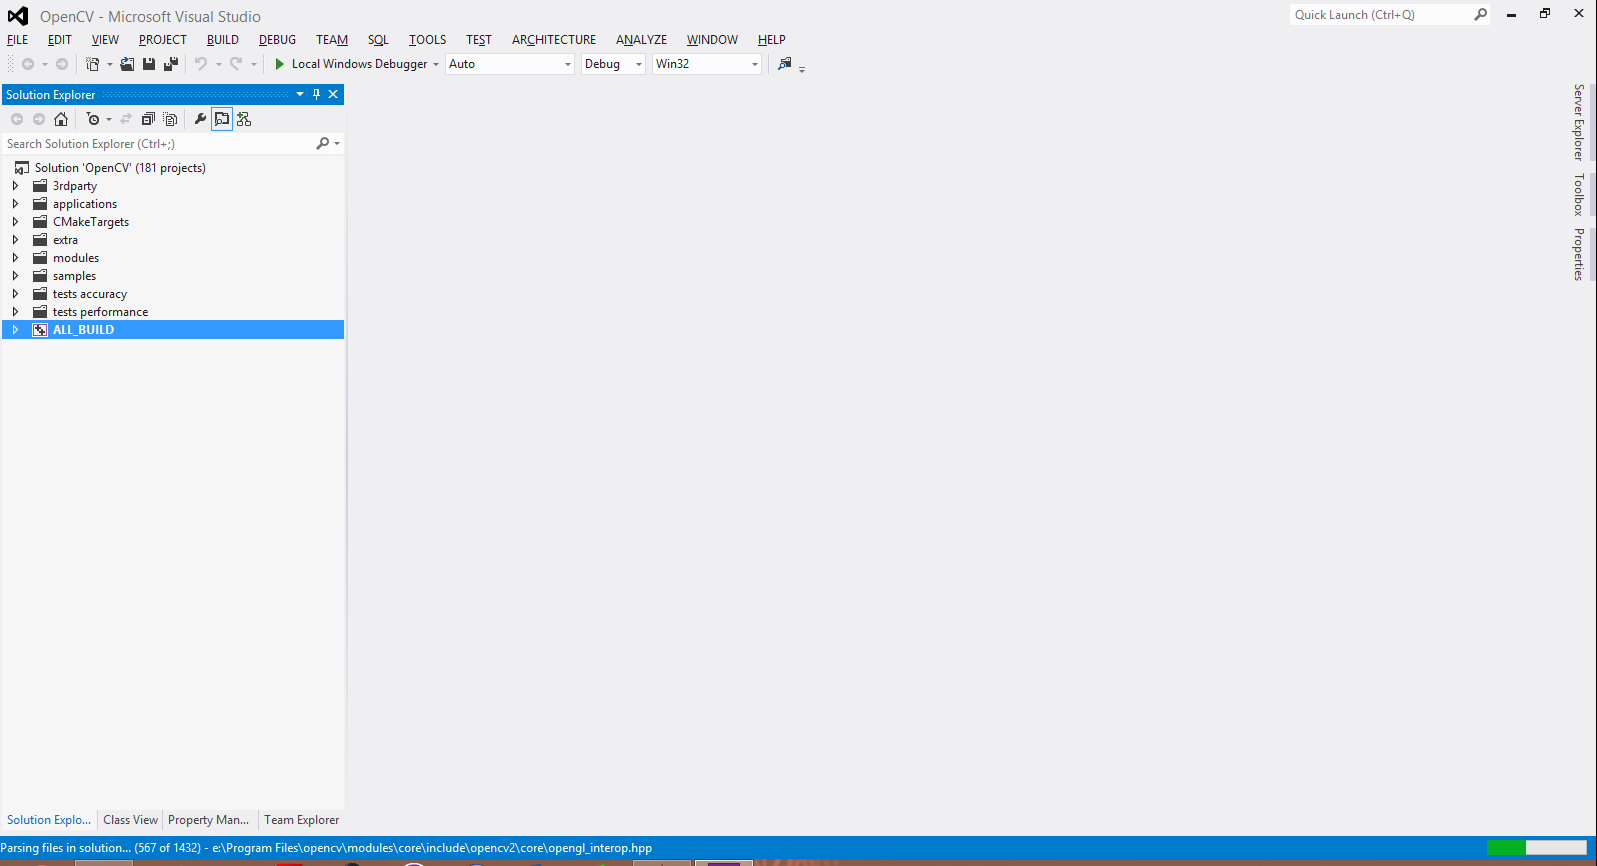
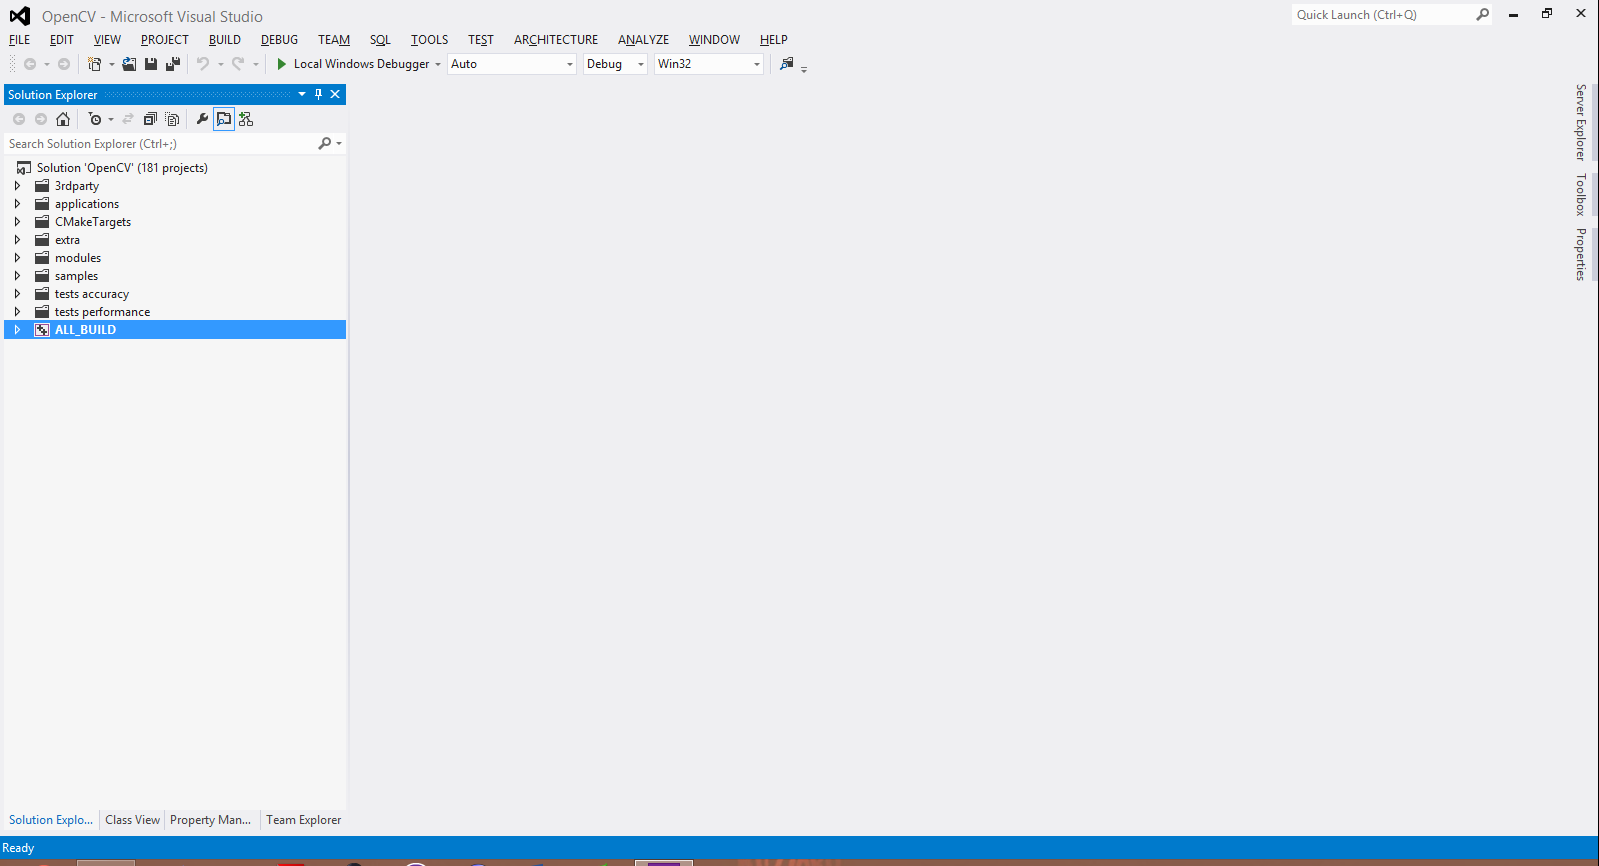
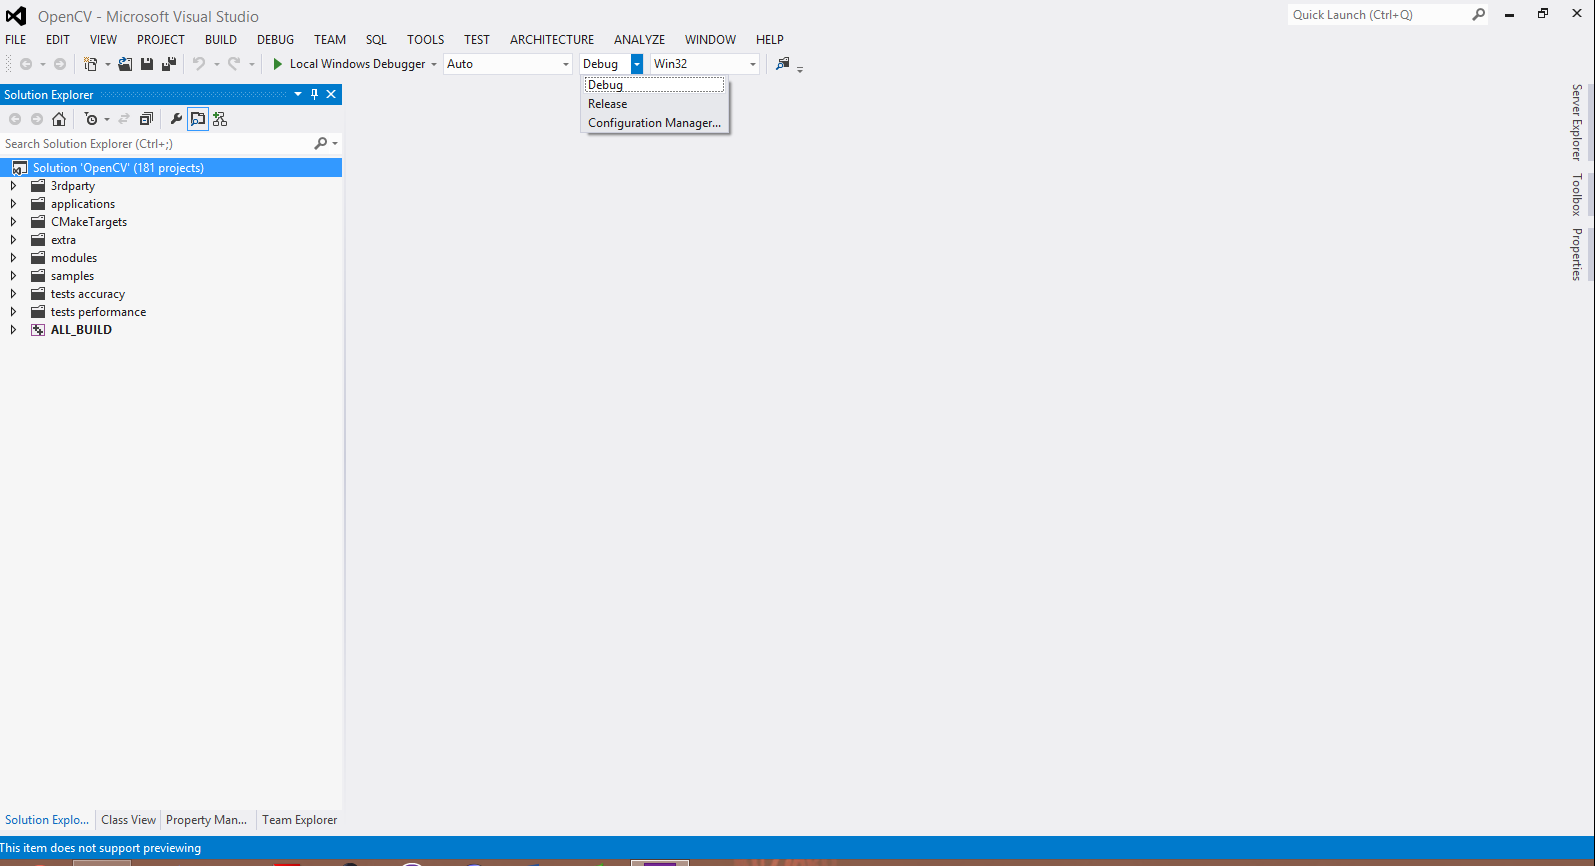
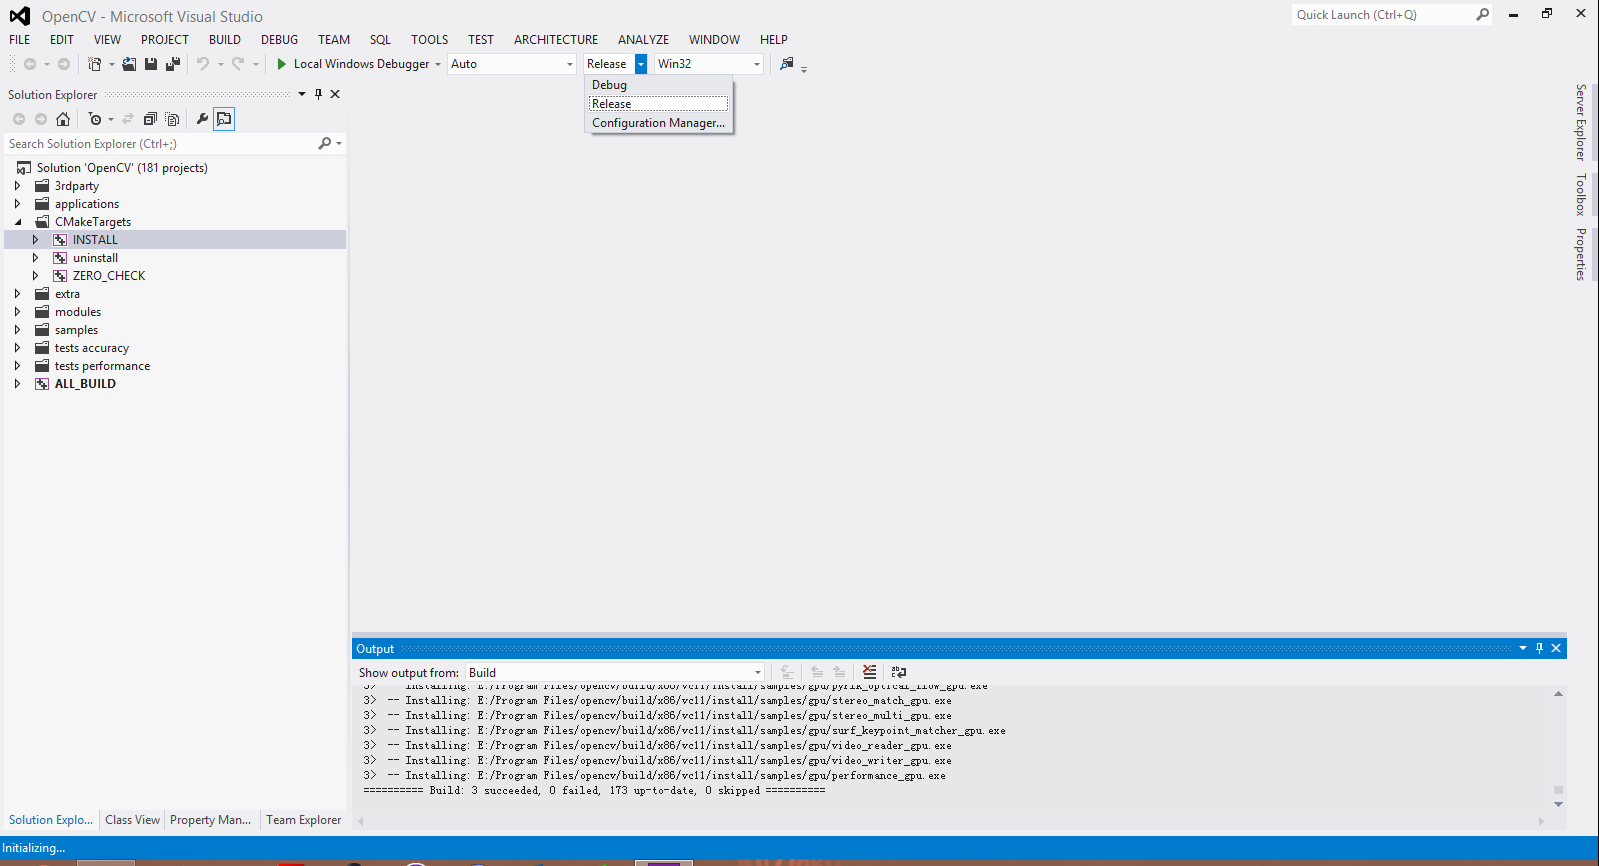
We will build debug libs first, so select “Debug”, later we will build release libs.
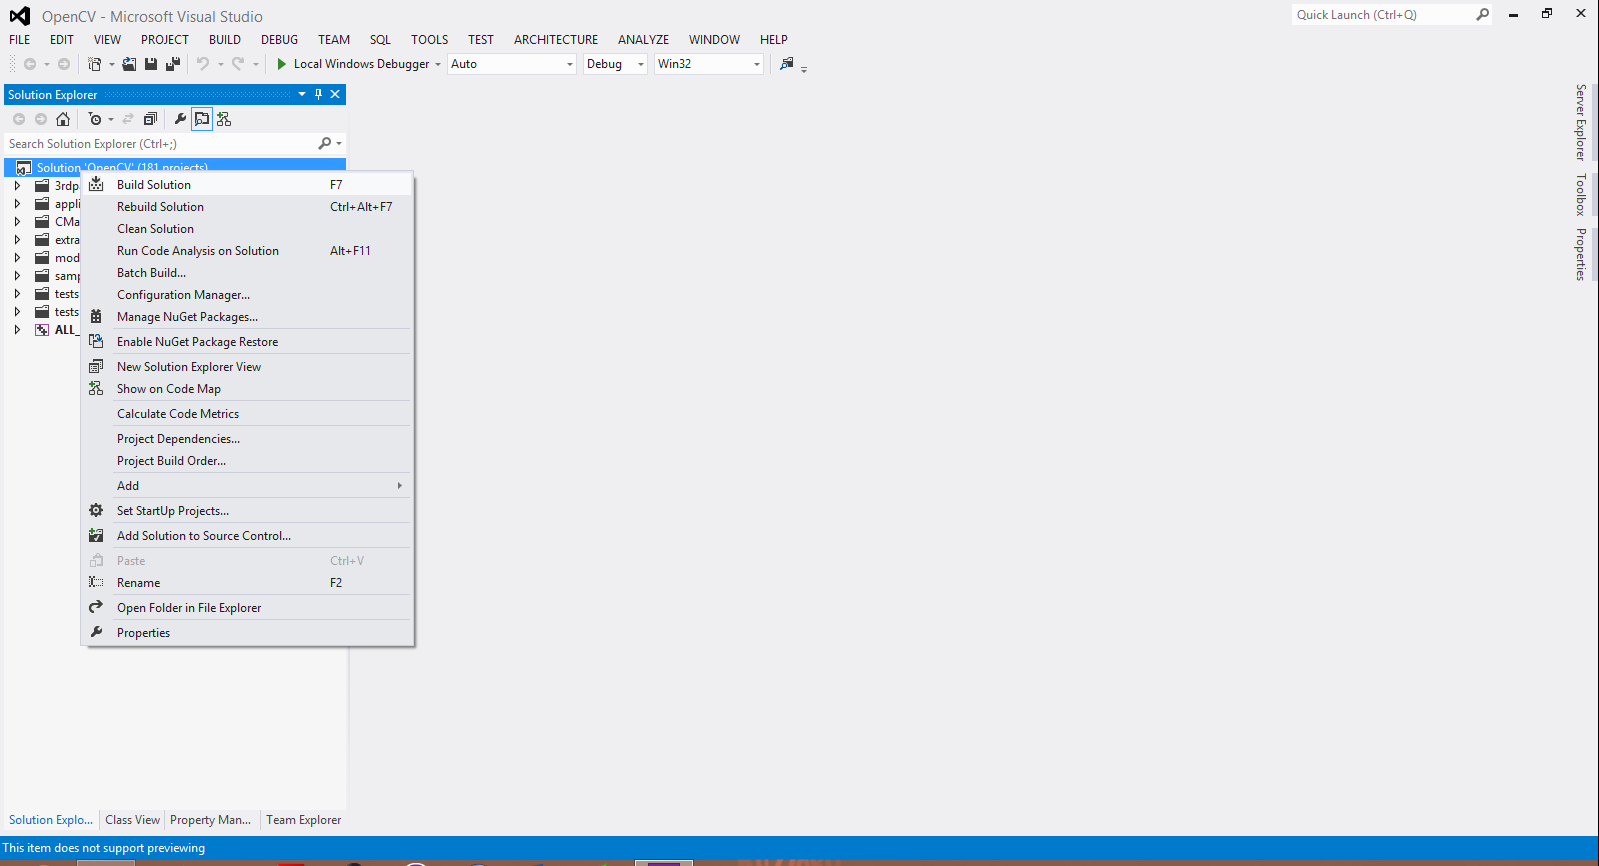
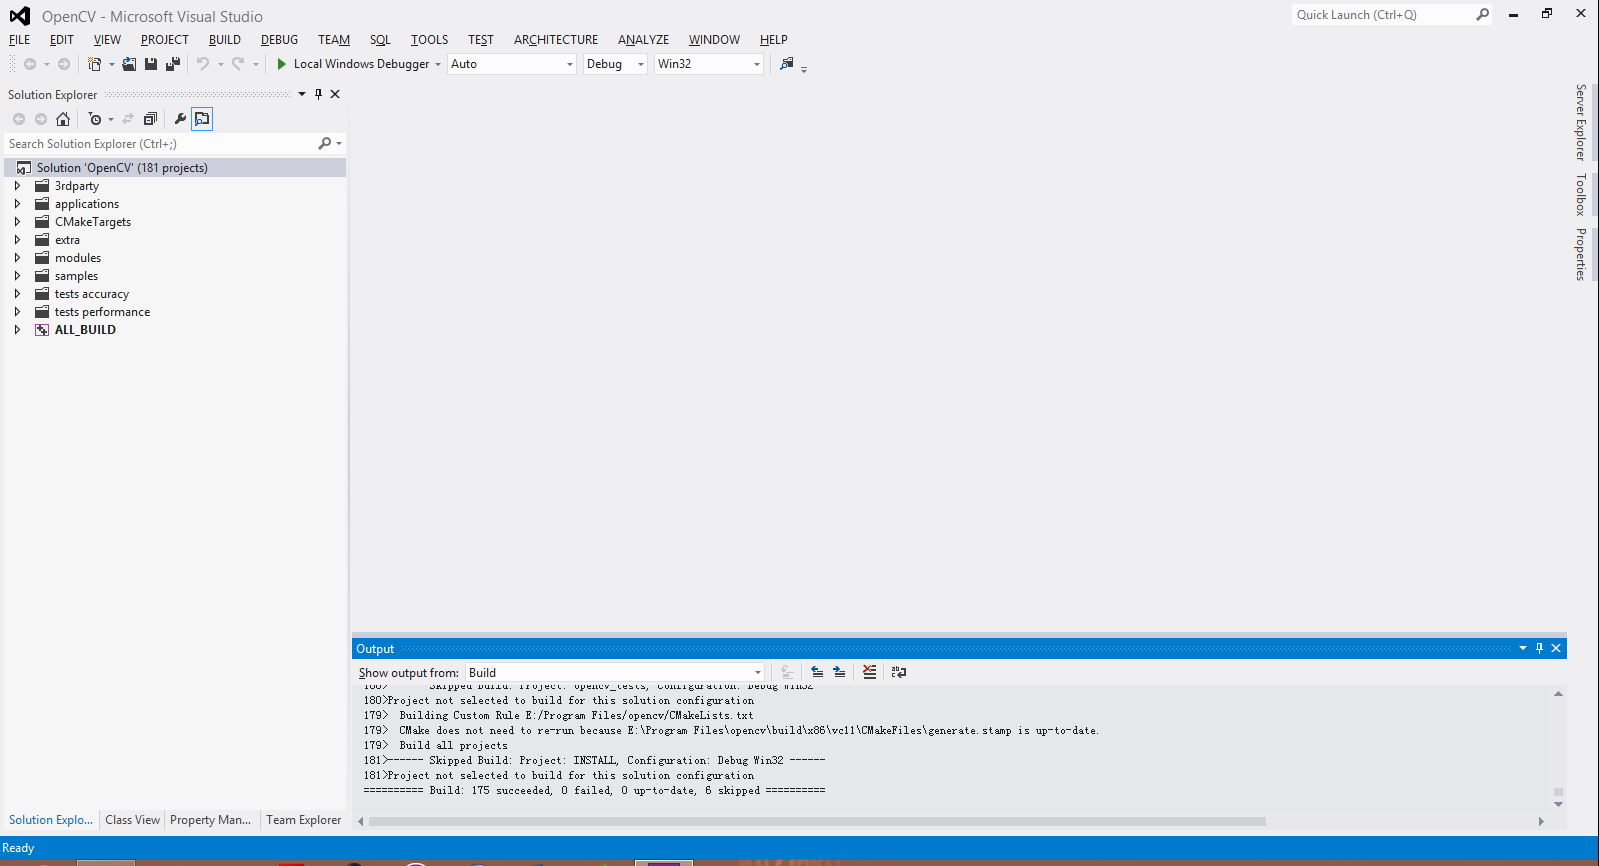
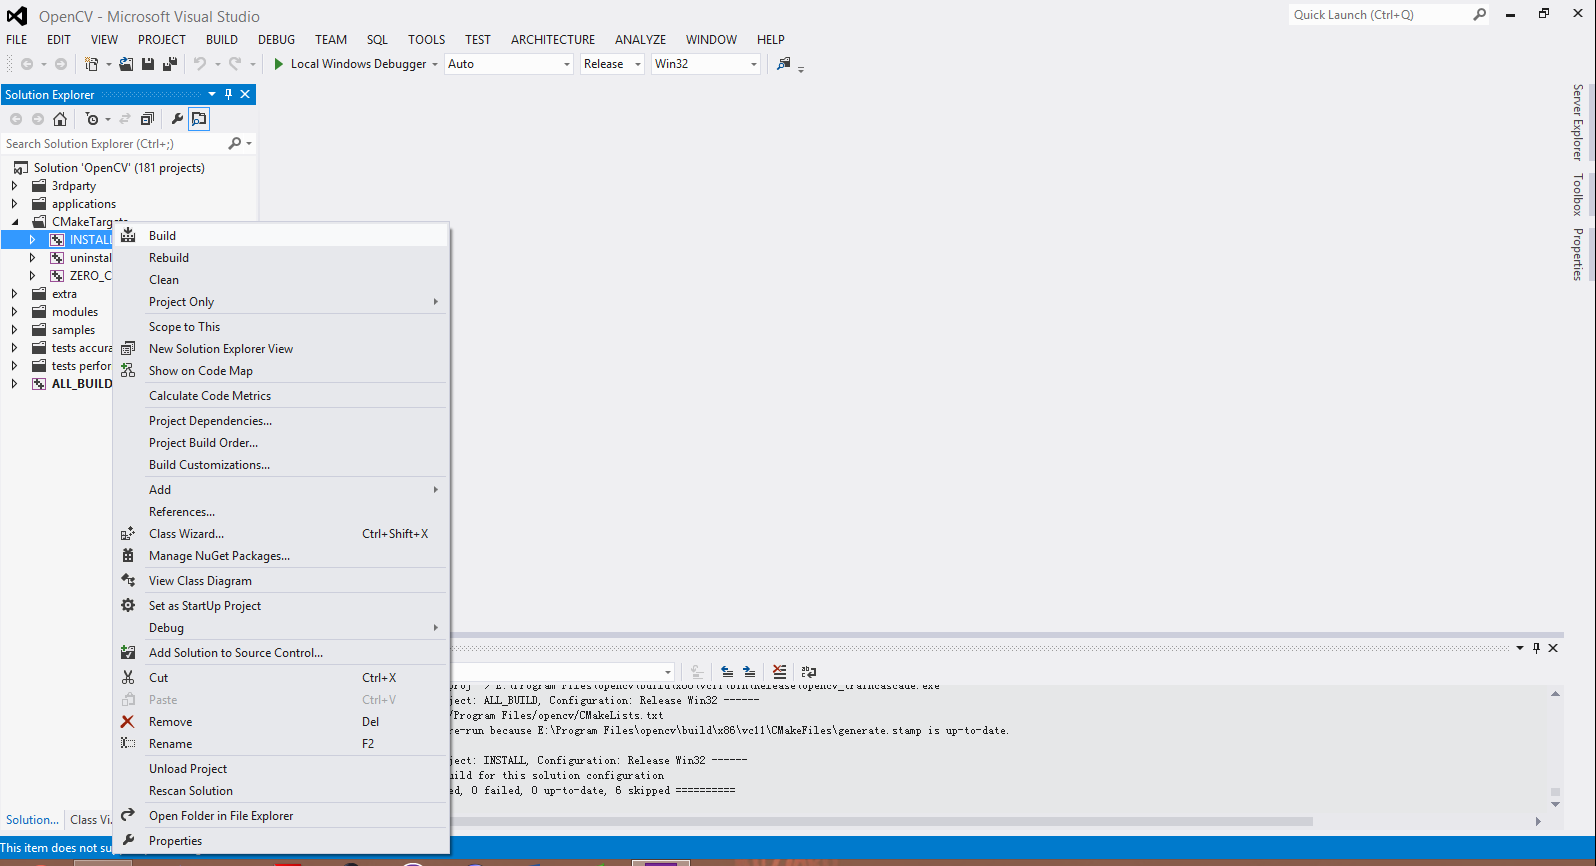
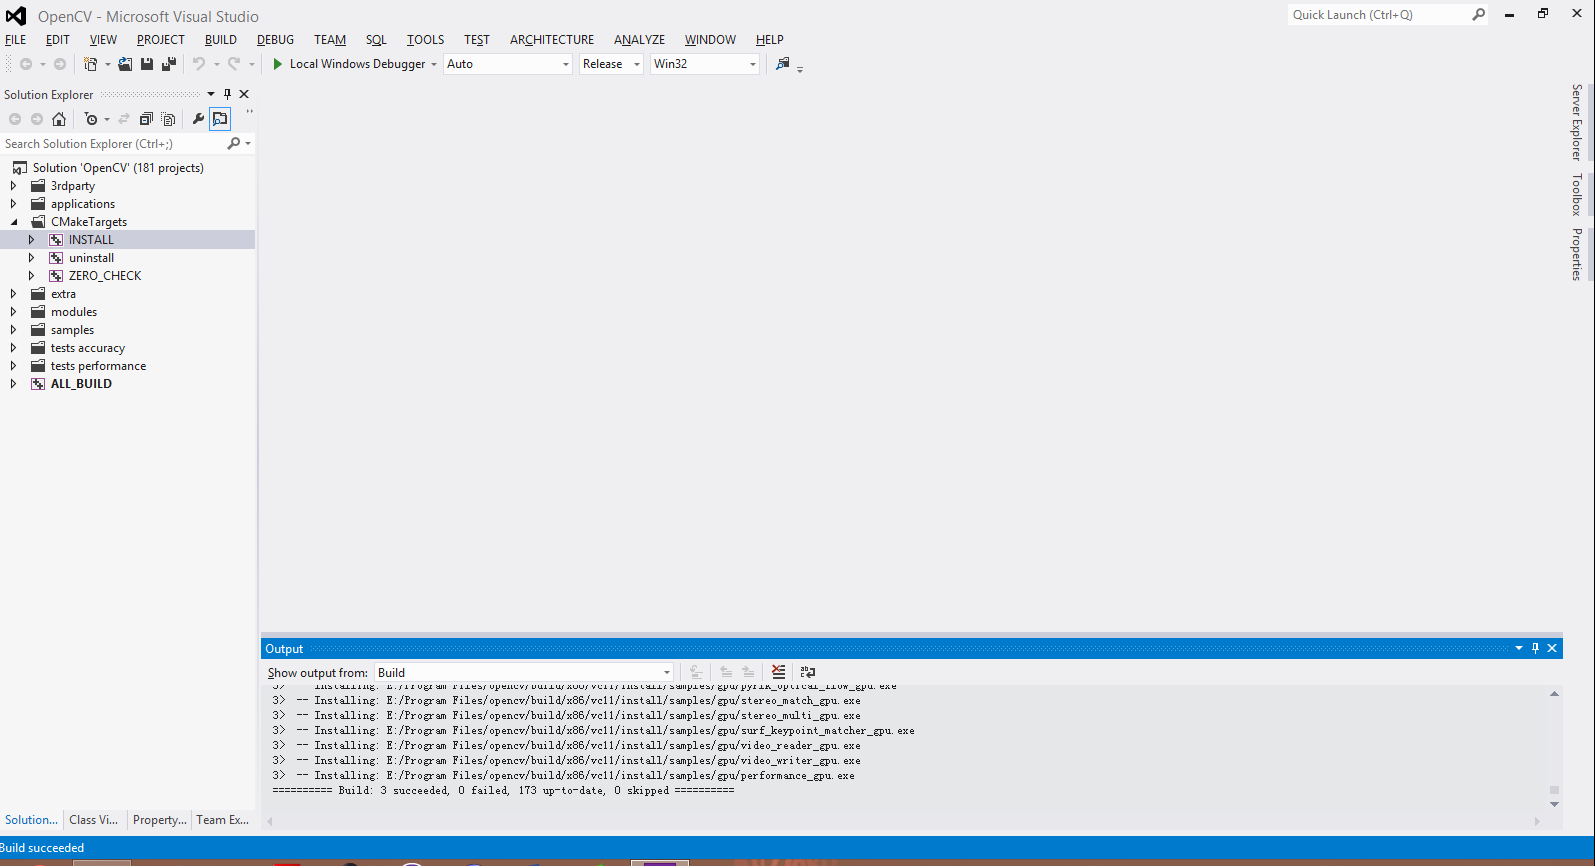
Select the solution and click “Build Solution”, and wait until it’s done. There should be no fails.
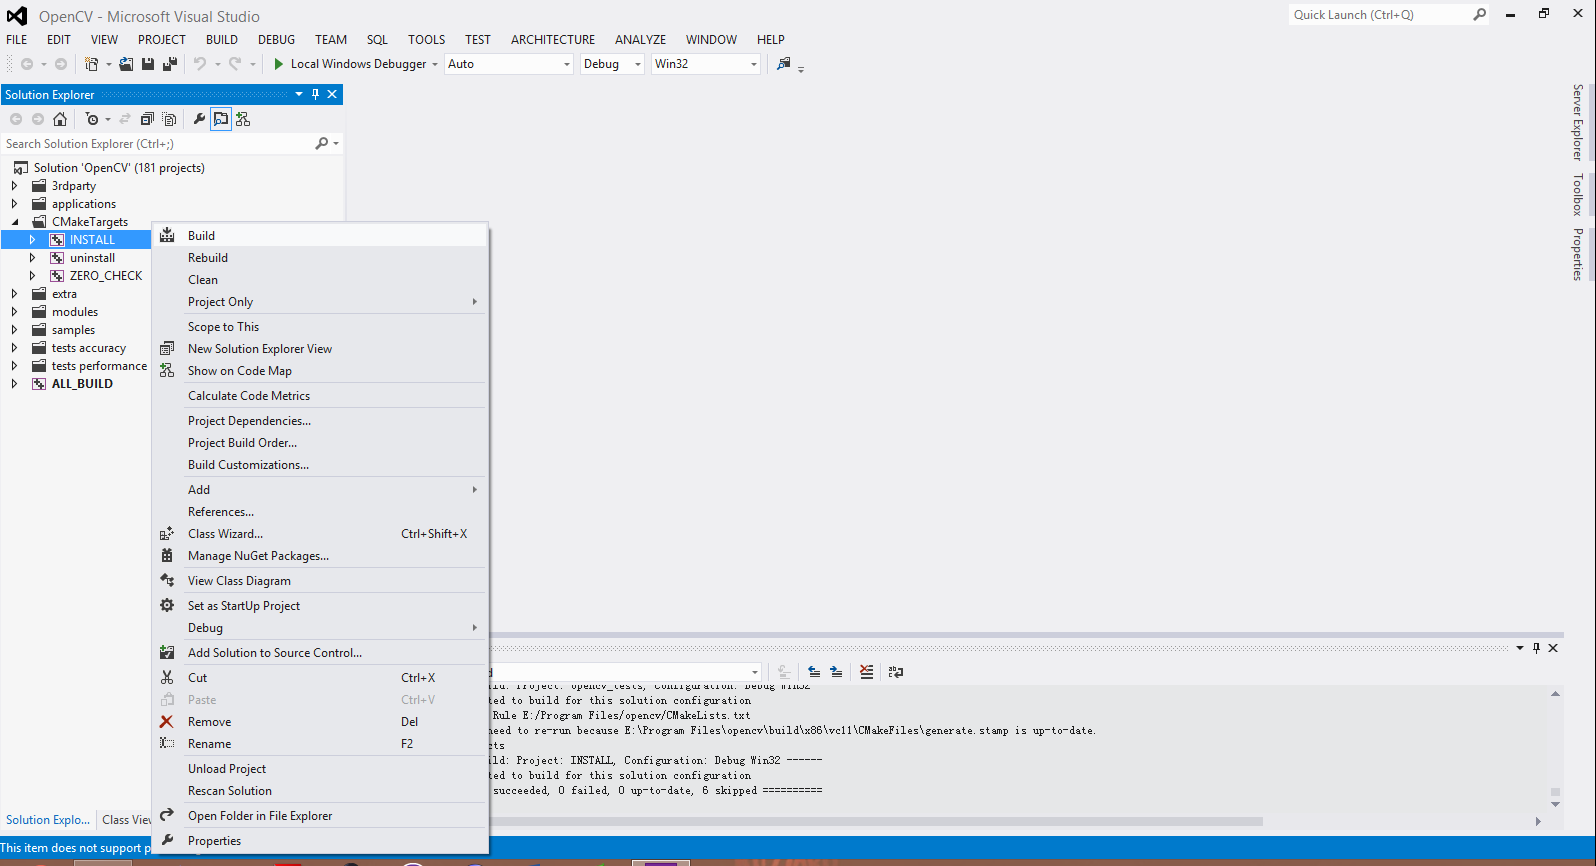
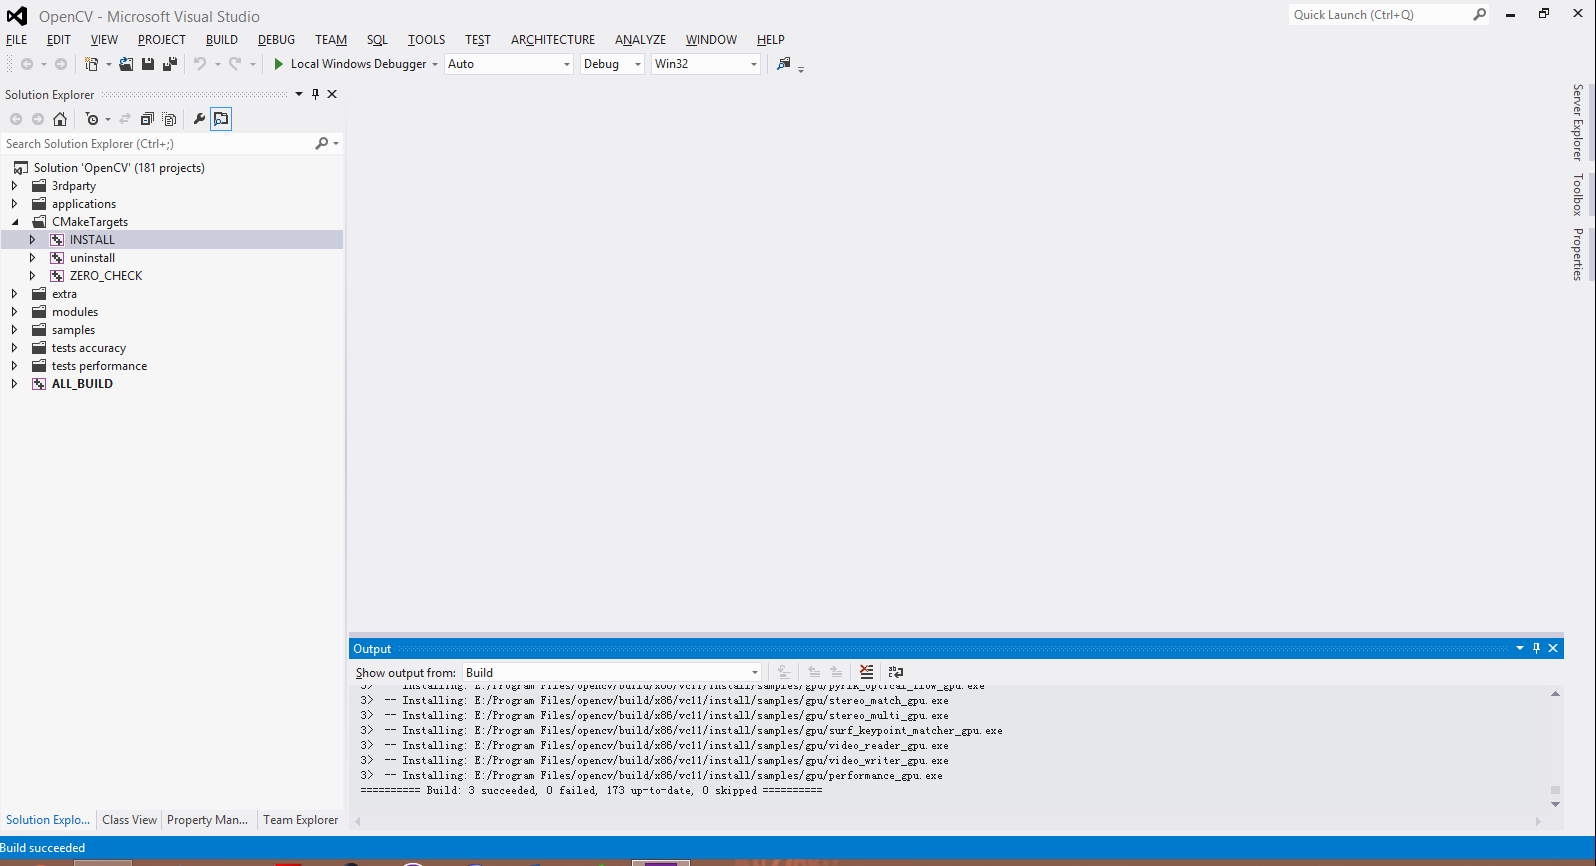
Now we’ve built the libraries and binaries, let’s install them which means collect them into install directory later we will use. You can skip this step and move them into some directories by yourself. To install, by clicking “Build” on “INSTALL”. And you should not see fails.
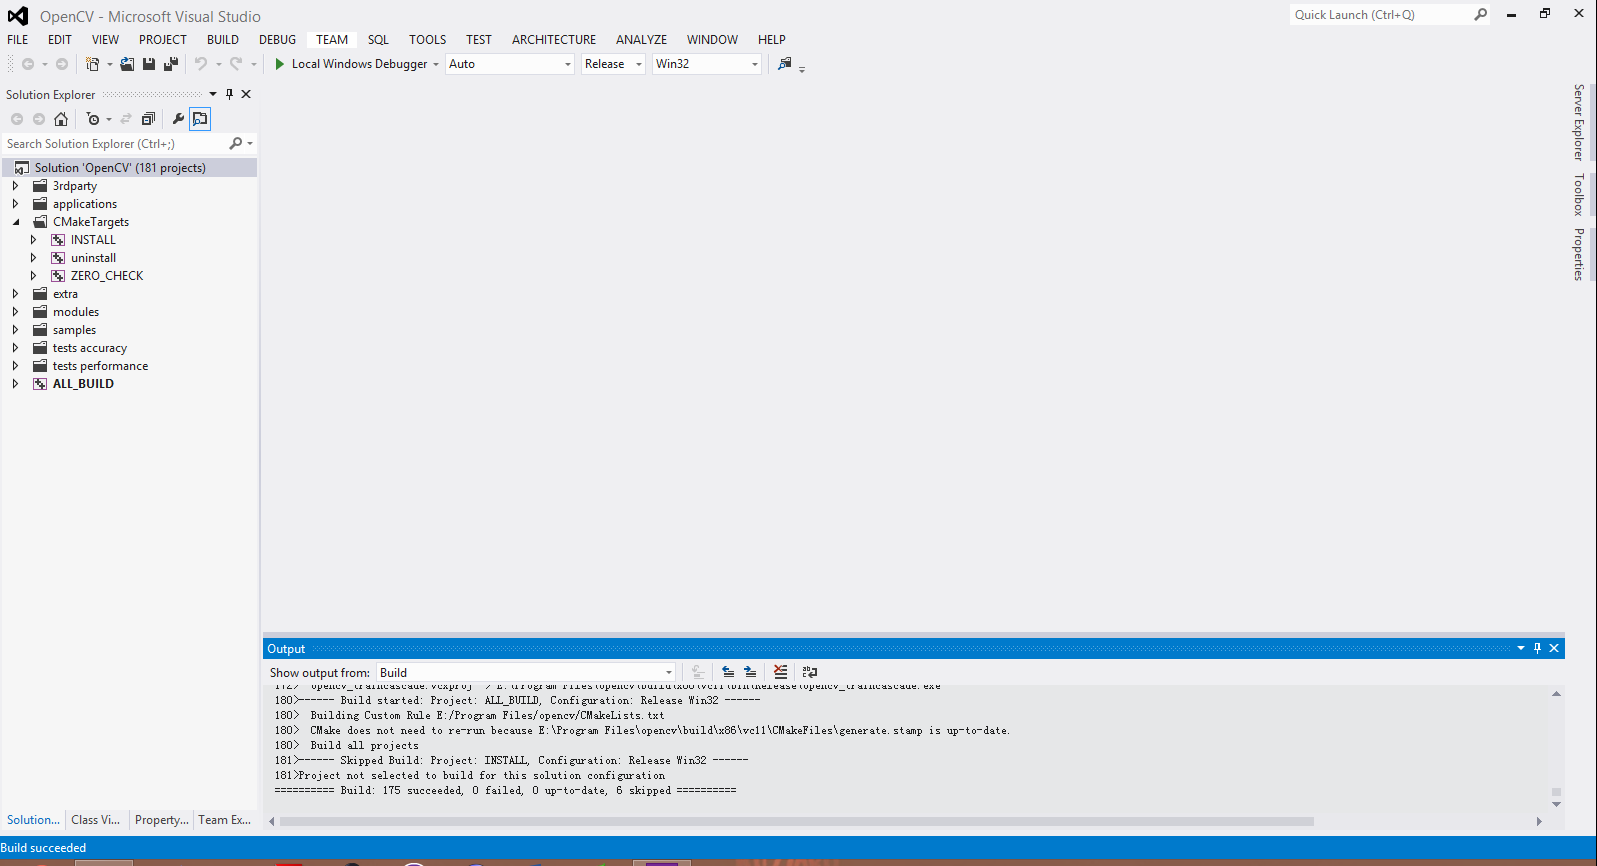
Now we’ve done building and installing debug version of opencv, let’s do the same with release version.
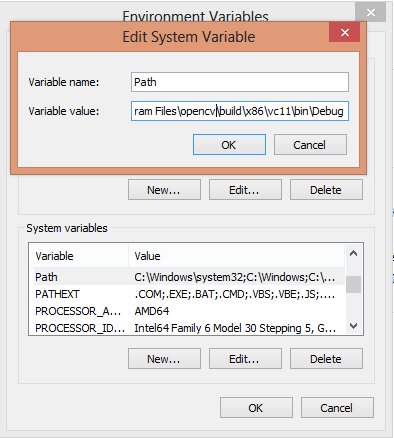
Ok! Now we’ve built opencv using Visual Studio 2012 successfully! You can delete everything except install directory. In install directory, you should see at least bin and lib directories. Now let’s test it with hello world program. You need to add binaries into system path in order for windows to pick up those binaries while running program. For me I added “E:Program Filesopencvbuildx86vc11installbin” into my path.
Create a new win console project and paste some opencv hello world programs, for example:
1
2
3
4
5
6
7
8
9
10
11
12
int main() {
cv::Mat img;
img = cv::imread("E:/Desktop/abc.jpg");
cv::namedWindow("Image");
cv::imshow("Image", img);
cv::waitKey();
return 1;
}Select “Property Manager” tab at the bottom, and click a property for example “Microsoft.Cpp.Win32.user”.
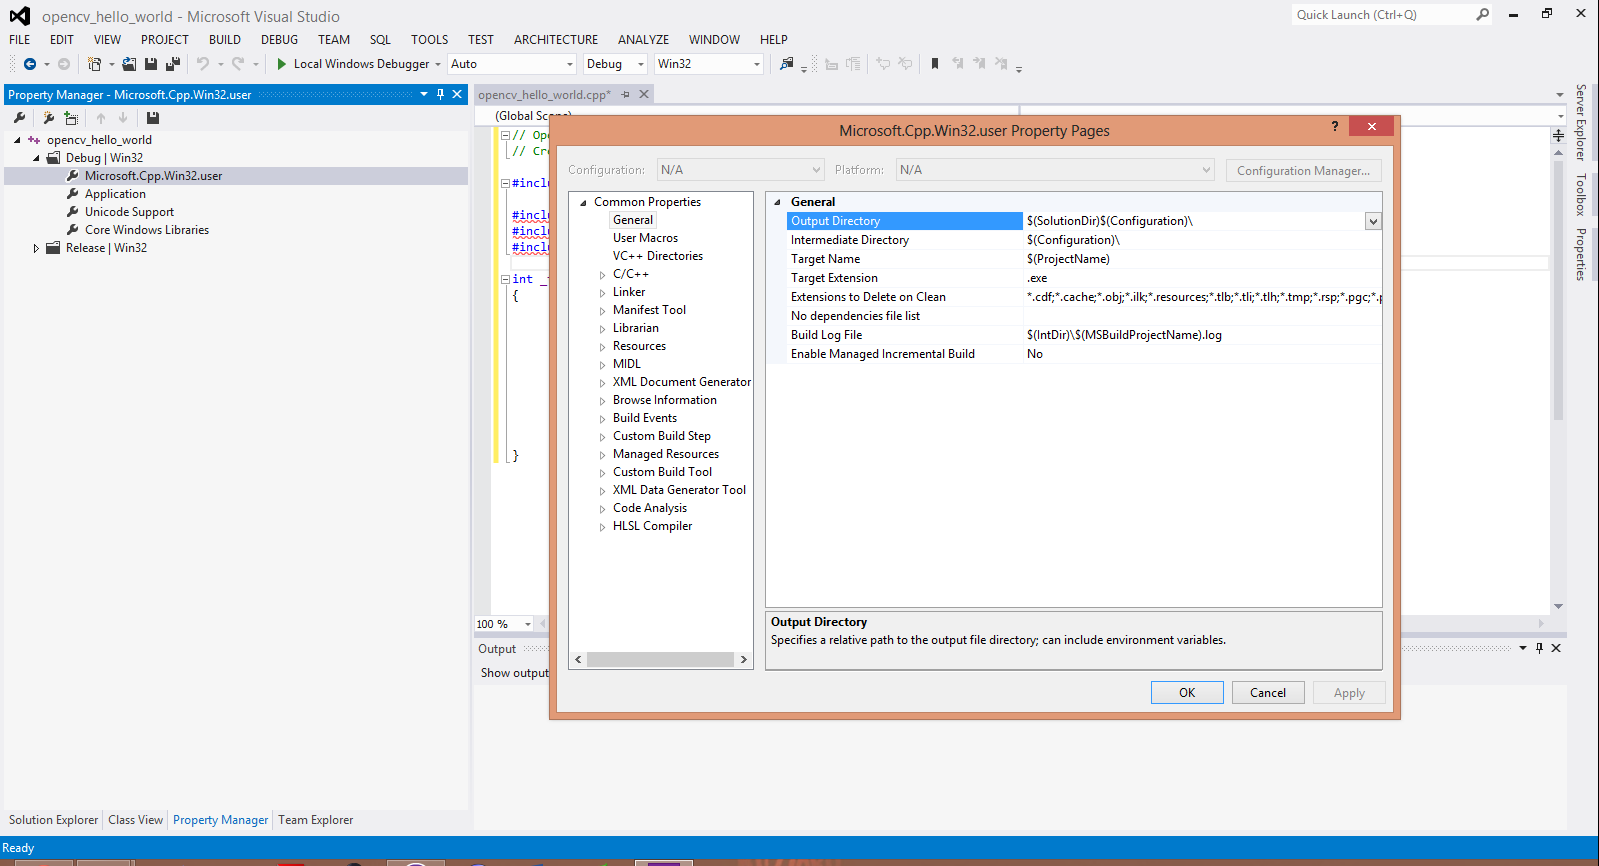
Add additional include directories to “C/C++” -> “All Options” -> “Additional Include Directories”. In my case, I added “E:Program Filesopencvbuildx86vc11installinclude”, “E:Program Filesopencvbuildx86vc11installincludeopencv” and “E:Program Filesopencvbuildx86vc11installincludeopencv2”.
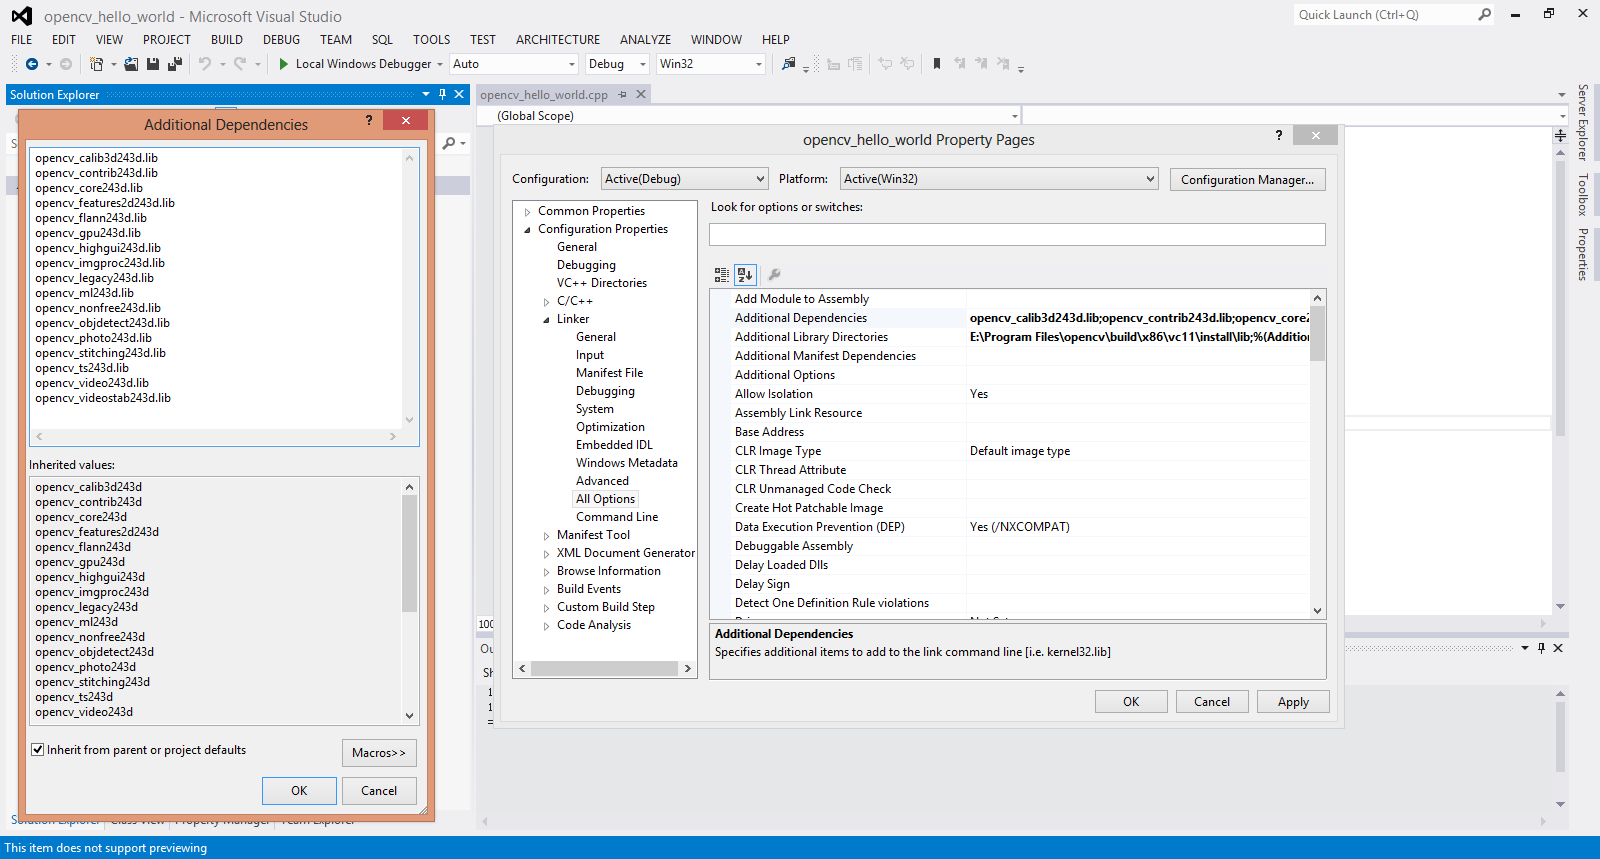
In “Linker” -> “All Options” -> “Additional Library Directories”, add where your libraries are, in my case it’s “E:Program Filesopencvbuildx86vc11installlib”. In “Linker” -> “All Options” -> “Additional Dependencies”, add libraries you use. In my case, I added all debug libraries. Libraries end with “d” are debug libraries, without “d” are release libraries.
Build and run your program!


